Making a Multiplayer FPS: Introduction
Introduction
Welcome to the first installment of this blog series, where I’ll take you through the journey of creating my very own online first-person shooter (FPS) game!
I’ve always liked FPS games since I was a kid, games such as CSGO, Valorant, Call of Duty, etc. So I thought that it would be a fun idea to make my own online FPS game in order to understand how it’s done and to see the full process of creating such a game.
Unity as the Game Engine:
I’ve decided to use Unity as the game engine of the project. This is because it is the game engine I know the most, and even though it would be beneficial to try other ones, I think that I would have a difficult time developing the game than additionally having to learn a new engine like Unreal Engine or Godot.
It’s also important to consider that Unity is the most popular one, so there is a lot of documentation which will be helpful in my journey as I never developed a multiplayer game before.
Riptide as the networking library:
For the multiplayer aspect of my FPS game, I’ll be utilizing a new library called Riptide, developed by the talented Tom Weilland.
This lightweight library is designed to be used in networking in Unity as well as in all over .NET. The library gives you low-level control of the networking stuff which is excellent, but everything has a catch; in this case, you are responsible for organizing the messages IDs, protocol methods, and everything else needed. This may seem tedious and confusing, but the amount of power you have means that you can implement basically anything you need.
On the other hand, a library like Mirror is a lot easier and intuitive to use; however, it is very difficult to add new things that the library doesn’t have. So you have to evaluate which one suits better your needs.
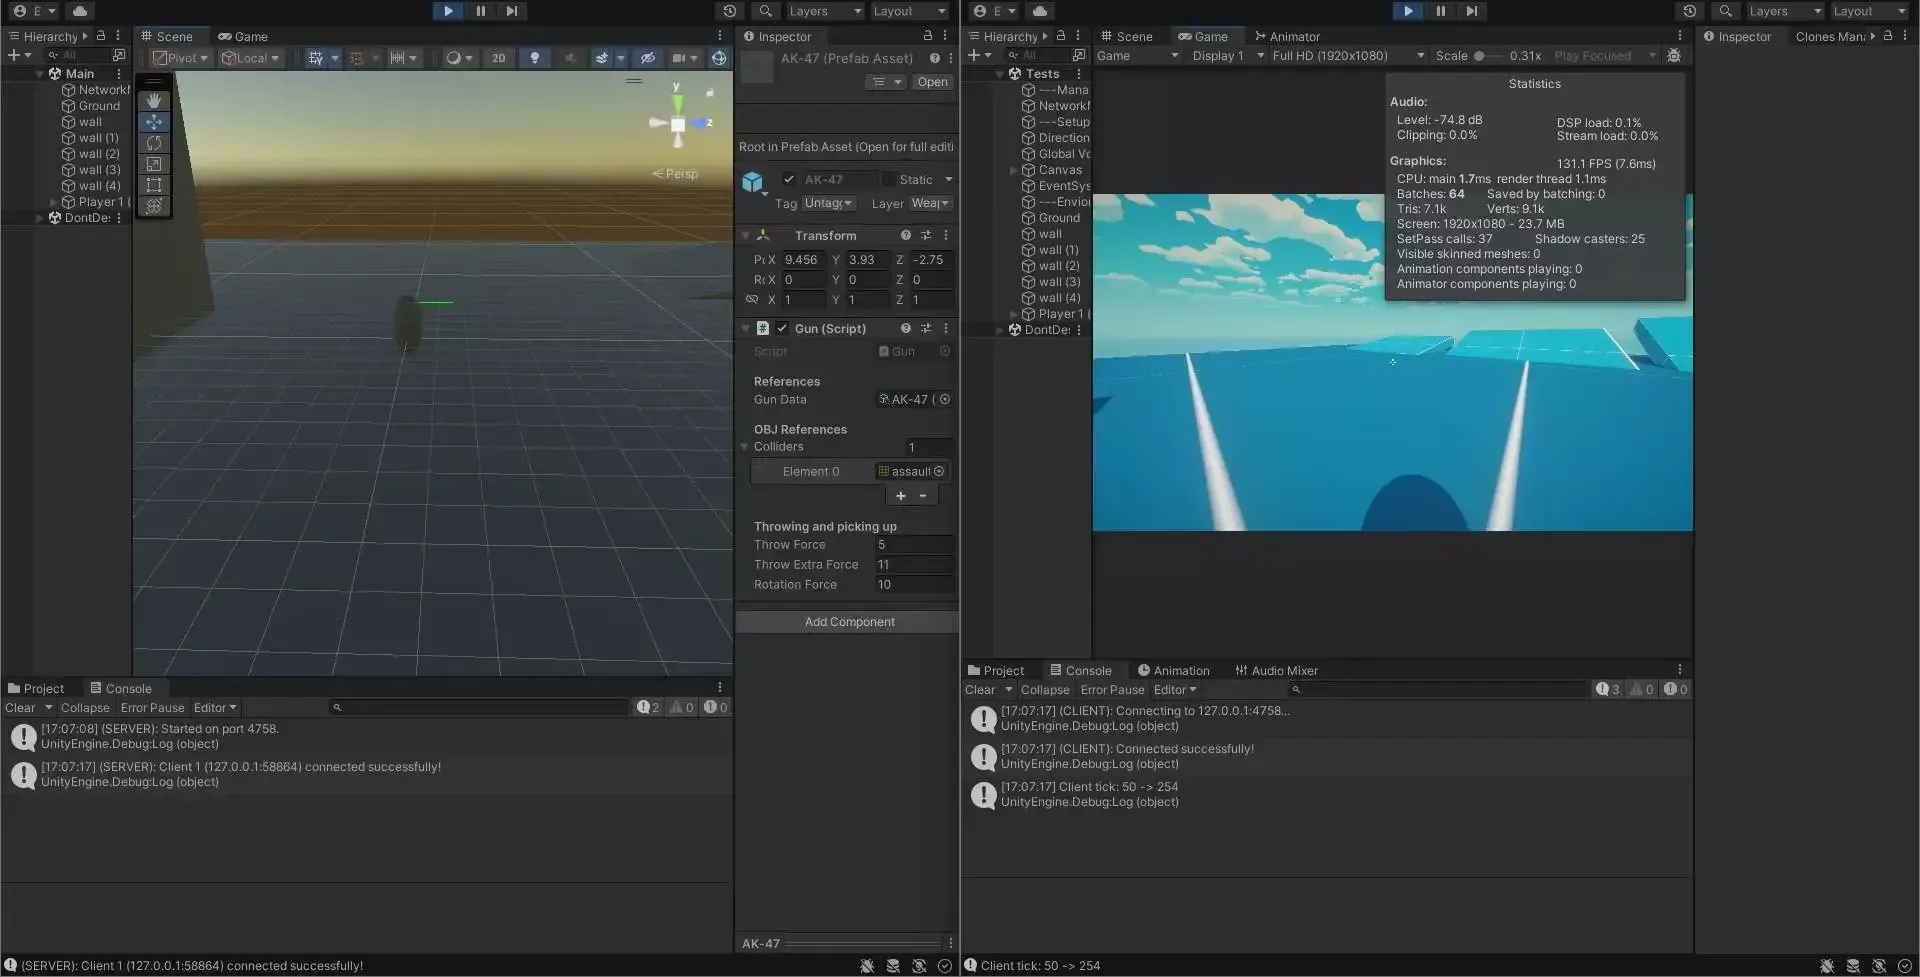
Connection Between Server and Clients:
One of the core elements that I’ve already set up is the connection between the server and clients. As I didn’t know basically anything about networking, I followed Tom Weiland’s tutorial series on how to set up basic networking stuff needed for the game. You should check it out as well; it’s very well explained and easy to understand.
What to Expect:
Throughout this blog series, I’ll be sharing every step of my game development process. From the initial concept and design phase to coding, artwork, level creation, playtesting, and debugging, you’ll witness the challenges and triumphs of my journey. I’ll also document the lessons I learn, the valuable resources I find, and any tips and tricks that could be useful for fellow aspiring game developers.
It is important to understand that this series is not a tutorial one. However, you will see how it is to work behind a project like this one.
Conclusion:
I intend to share updates on this project approximately every two weeks, but don’t expect too much as in September I start my baccalaureate, and I don’t think I will have a lot of free time. I will continue to post at least on some weekends though.
Thank you for joining me on this adventure, and I look forward to your support and feedback throughout this exciting process!